"Dancing" Fog Screen
Project Overview
The goal of this project was to create a sheet of fog that would respond to music that was played, which required me to learn about MOSFETs, solenoids, pumps, and laminar flow. It also further honed my Arduino and Python programming skills.
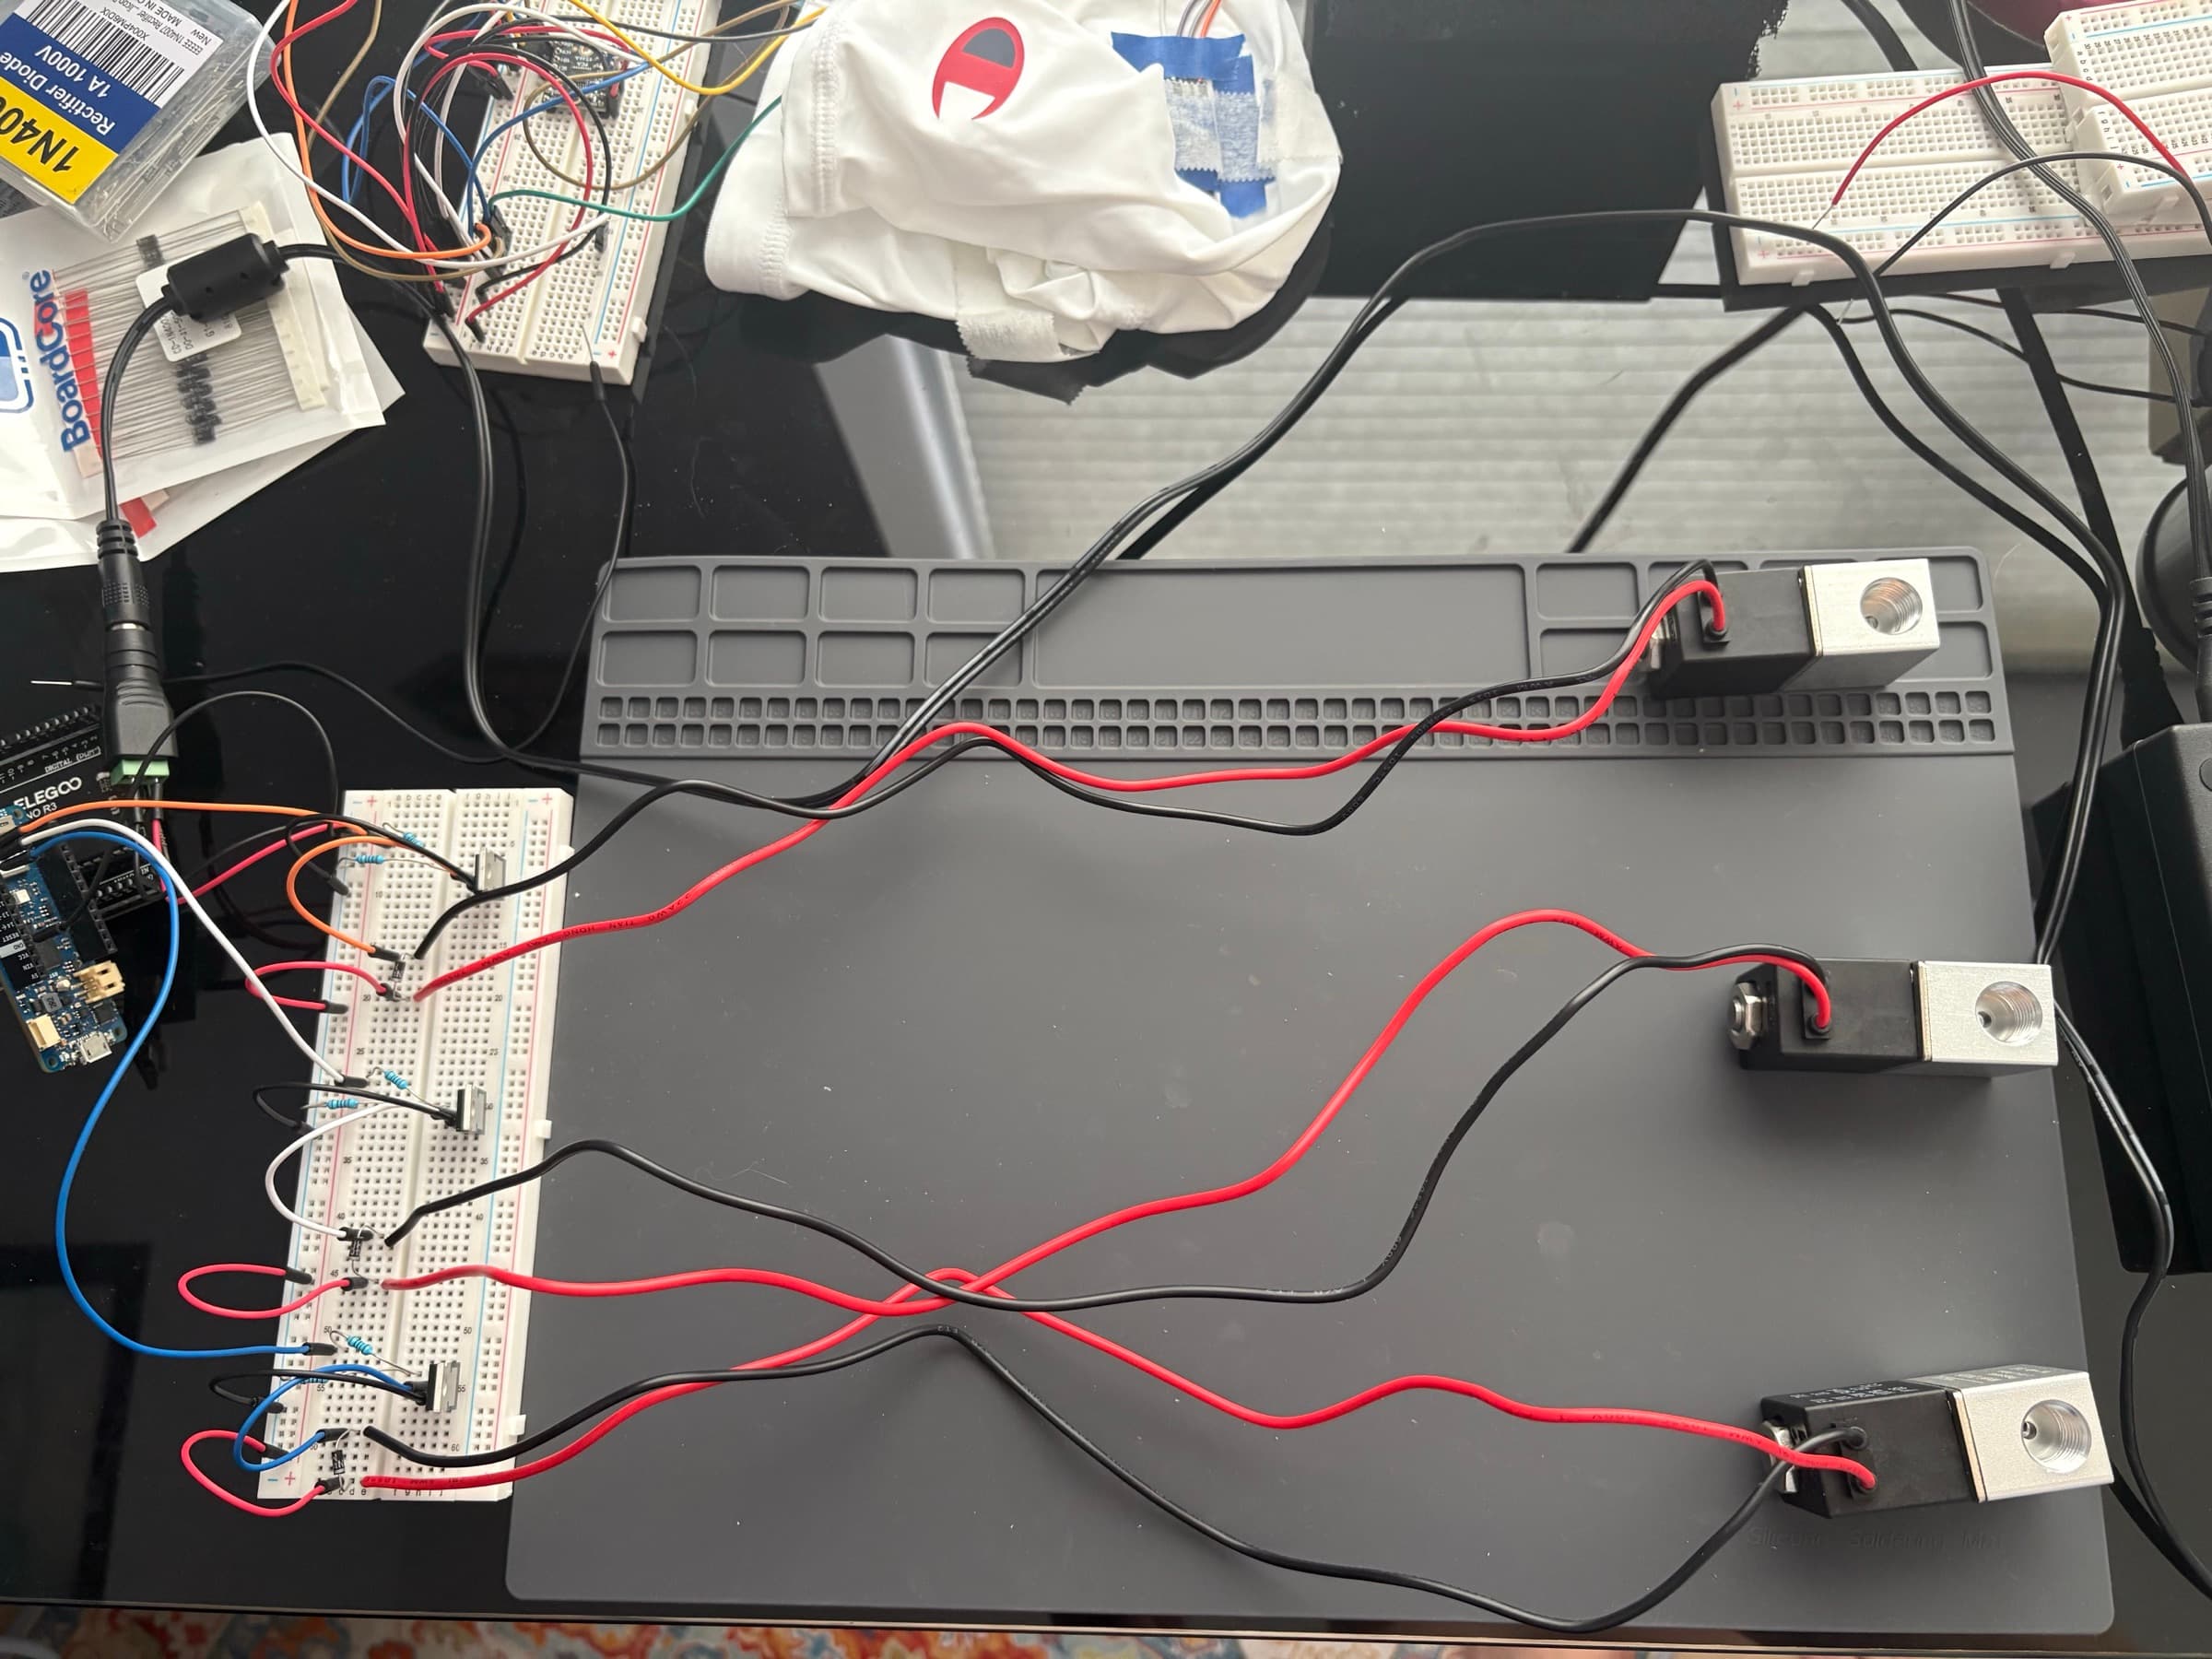
The first step in creating the dancing fog screen was designing the solenoid manifold that would sit beneath the fog. In the photo above, the top solenoid corresponds to the highest frequency band in the song (the highs), the middle solenoid to the mids, and the bottom solenoid to the lows. When choosing parts, I had to consider the response time of the valves, since they needed to fire quickly to stay on beat with the music; the duty-cycle of the valves, so they wouldn't overheat from frequent switching; and, most importantly, the noise, since solenoids that were too loud would drown out the music being played.
The next step was deciding how to control the valves: either with a microphone doing live analysis of the song, or with pre-analyzed song commands. A microphone would have been a cool feature, since it could respond to the environment around it, but I determined that the low hum of the pump and the frequent clicking of the solenoids would likely throw off the live analysis. This could possibly have been solved with a wireless microphone positioned away from the manifold, but I felt that added too much cost for this project and could have introduced more actuation delays. I also suspected that live analysis altogether would introduce delays in solenoid actuation. For these reasons, pre-analyzing the songs was the best route: it was less impressive as a feature, but more accurate and cost effective. First Syncing Test - https://youtu.be/RVIJSiW5YM0.
The music was pre-analyzed in Python using a fast Fourier transform on the frequency data of the .wav file to isolate the individual low, mid, and high frequencies. After analysis, timed commands were sent from Python to the Arduino using serial communication.
The final step was setting up the fog screen. The main consideration for selecting the ultrasonic fogger was its fog generation per hour. If it was too low, then the fog would not be very dense, and the solenoid manifold behind it would be clearly visible. On the other hand, if it was too high, it would eat up water far too rapidly, requiring a huge water basin to keep up with the fog generation (which would not be very practical to 3D print). I ended up deciding on a fogger with a 5,000 ml/hr generation. This means that my basin only needs to be 5,000 cubic centimeters to get one whole hour of fog.
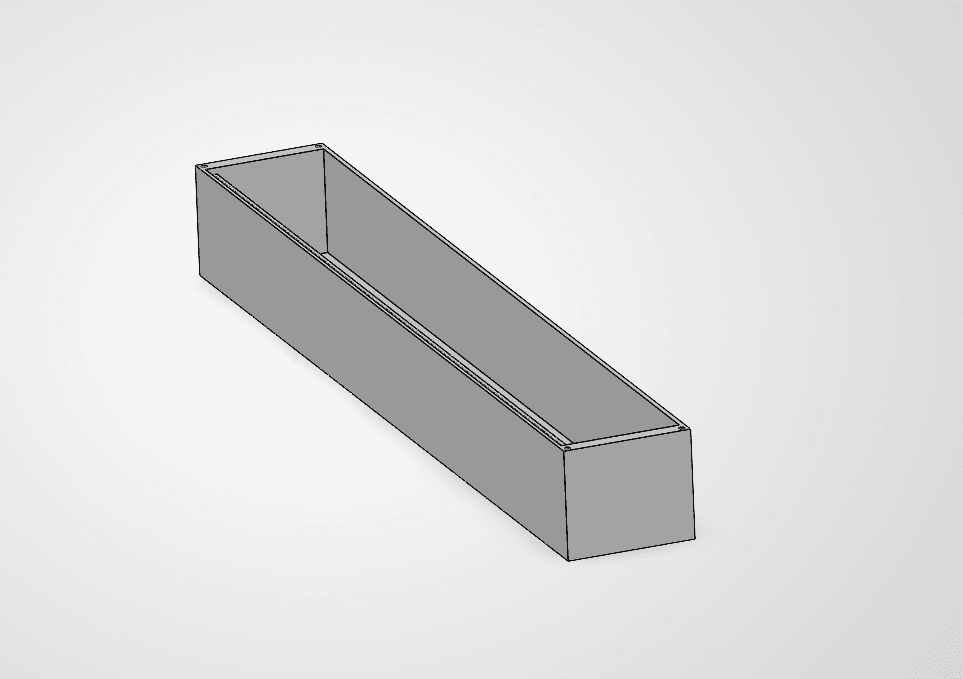
I decided that the height of the basin had to be capped at 8 cm. This is because the fogger works best at a depth of 6-8 cm below the surface of the water. While I could have made the basin deeper and designed buoys to float the fogger 6-8 cm under the surface, this would have added too much complexity, and would have made the design unstable if I ever decided to mount it on a wall.
I used heat-set inserts to mount the fogger to the bottom of the basin, and to attach the lid to the top of the basin.
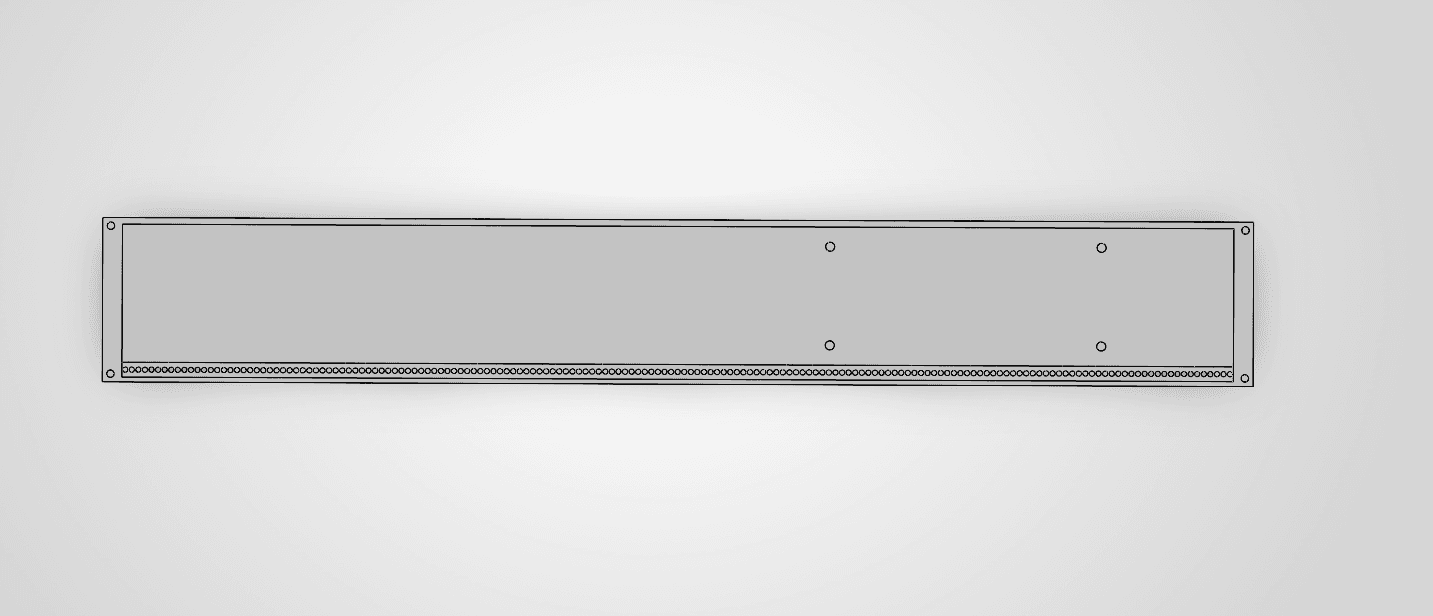
The line of holes is designed to promote laminar flow in the fog, with each hole having a diameter of 3mm. A 5,000 ml/hr fogger, split among 25 holes with a diameter of 3mm, gives a flow per hole of 200 ml/hr and a velocity per hole of roughly 8 mm/s. Solving for the Reynolds number with these values gives ~1.5, which indicates extremely laminar flow. Laminar flow is important in this project because turbulence in the fog could be indistinguishable from the intentional disturbances caused by the solenoids.
At this point in the project, I've tested the solenoid actuation using a basic fogger setup and 3D printed the basin in three pieces, using PETG with four walls for waterproofing. Next, I'll test different methods of joining the housing pieces to form a waterproof seal. The final step will be to design a clean mounting bracket for the solenoids and their accompanying circuitry.